- Home
- A-Z Catalogue
- Products
- Valves
- Cetop
- Manual Directional Valves
- Proportional Valves
- Poppet Valves
- High-Speed Linear Servo Valves
- All High-Speed Linear Servo Valves
- Cetop 10 (NG32) Two Stage Type High Speed Linear Servo Valves – LSVHG-10
- Cetop 10 (NG32) Two Stage Type High Speed Linear Servo Valves – LSVHG-10 (With Fail-Safe)
- Cetop 8 (NG25) Two Stage Type High Speed Linear Servo Valves – LSVHG-06
- Cetop 8 (NG25) Two Stage Type High Speed Linear Servo Valves – LSVHG-06 (With Fail-Safe)
- Cetop 7 (NG16) Two Stage Type High Speed Linear Servo Valves – LSVHG-04
- Cetop 7 (NG16) Two Stage Type High Speed Linear Servo Valves – LSVHG-04 (With Fail-Safe)
- Cetop 5 (NG10) Direct Type High Speed Linear Servo Valves – LSVG-03
- Cetop 5 (NG10) OBE Type Direct Operated Linear Servo Valves – LSVG-03-EH
- Cetop 3 (NG6) OBE Type Direct Operated Linear Servo Valves – LSVG-01-EH
- Pumps
- Pressure control
- Flow Control Valves
- Pressure Control Valves
- All Pressure Control Valves
- Brake Valves
- Direct Relief Valve
- Low Noise Solenoid Controlled Relief Valves
- Low Noise Pilot Operated Relief Valves
- Pilot Operated Relief Valves
- Pressure reducing and relieving valves
- Pressure reducing and check valves
- Pressure control valves
- Remote Control Relief Valves
- Solenoid Controlled Relief Valves – BSG
- Solenoid Controlled Relief Valves – BST
- Unloading relief valves
- Check valves
- Environmental
- Valves
- Hydraulic Systems
- Power pack
- About Us
- Contact
- Blog

7 Tips for Choosing Slim Frame Aluminum Sliding Doors
Slim frame aluminum sliding doors bring daylight into a room while keeping sightlines clean and unobtrusive. Their narrow profiles can suit patios, balconies, and open-plan living areas, but appearance is only one part of a successful choice. A door that looks elegant in a showroom may feel different beside a windy terrace or a busy kitchen. Small details matter.
This guide introduces seven practical points to consider before choosing a system. Look closely at frame strength, glass specification, panel size, track design, weather seals, operation, and installation requirements. These features can affect comfort, security, maintenance, and long-term performance. A smooth-running sample is useful, but it does not tell the whole story. Ask how the rollers are adjusted, whether the track can be cleaned easily, and how the threshold manages rainwater. Ask suppliers for clear product data, including thermal and acoustic ratings where relevant, and confirm that stated figures apply to the exact configuration you plan to buy. Measurements should account for finished floor levels, drainage, and installation access—not just the visible opening.
Slim frames can reduce visual obstruction, yet the thinnest profile is not automatically the best choice. Large glass panels need suitable engineering, and climate and building conditions can change what works well. Looks are not enough. Compare warranties, available replacement parts, and cleaning access before committing. It is easy to focus on the glass display and overlook the handle or track. A careful decision often comes from checking a sample, asking specific questions, and reviewing the details with a qualified installer.
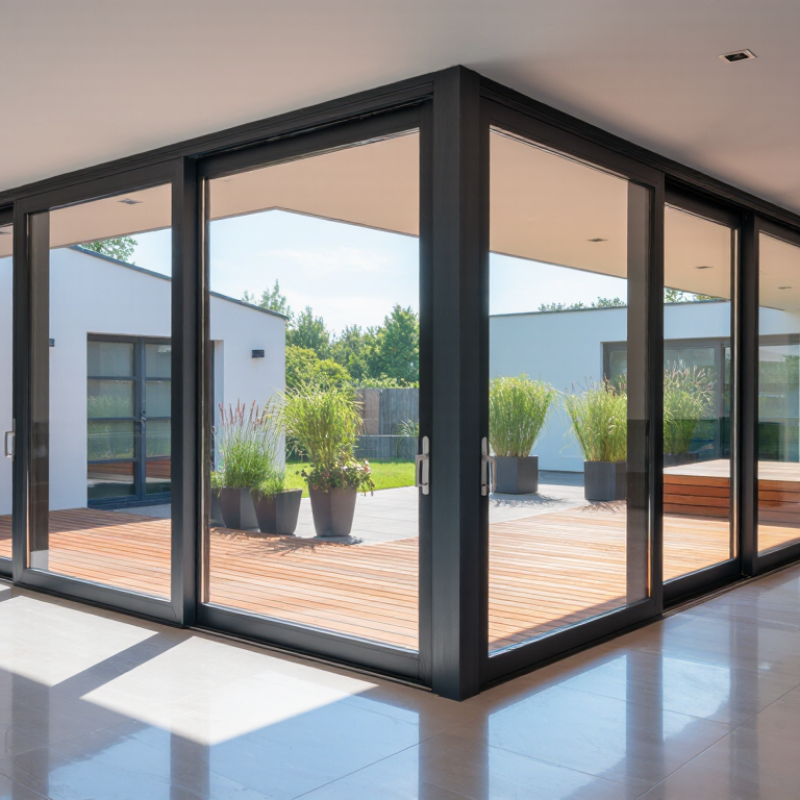
Table of Contents [Hide]
Assess Your Space, Opening Size, and Design Requirements
Before choosing slim frame aluminum sliding doors, study how the room is actually used. Measure the opening at several points, since older walls are not always square. Note the finished floor height, nearby columns, and ceiling details. A tape measure helps. So does a simple sketch.
Check the full panel movement, not just the clear opening. Sliding panels need room to stack, and fixed panels can limit access to the outdoors. Mark the proposed track and panel positions with painter’s tape. Then walk through the space with furniture in place. A sofa or kitchen island can make a beautiful wide opening feel awkward. Measure twice. It sounds fussy, but it can prevent a costly mismatch.
Your design requirements should guide the frame, glass, and configuration. Slim sightlines bring in more daylight, but the overall door still needs suitable structural support. Ask a qualified installer how the opening will be supported and how the sill will manage water. Consider privacy, glare, ventilation, and the direction of prevailing weather. Larger panes may offer a cleaner view, yet they can also change comfort and maintenance needs. I would not choose by appearance alone; it is easy to overlook how often the track needs cleaning. Compare drawings and product specifications against your measured opening before making a final selection.