- Home
- A-Z Catalogue
- Products
- Valves
- Cetop
- Manual Directional Valves
- Proportional Valves
- Poppet Valves
- High-Speed Linear Servo Valves
- All High-Speed Linear Servo Valves
- Cetop 10 (NG32) Two Stage Type High Speed Linear Servo Valves – LSVHG-10
- Cetop 10 (NG32) Two Stage Type High Speed Linear Servo Valves – LSVHG-10 (With Fail-Safe)
- Cetop 8 (NG25) Two Stage Type High Speed Linear Servo Valves – LSVHG-06
- Cetop 8 (NG25) Two Stage Type High Speed Linear Servo Valves – LSVHG-06 (With Fail-Safe)
- Cetop 7 (NG16) Two Stage Type High Speed Linear Servo Valves – LSVHG-04
- Cetop 7 (NG16) Two Stage Type High Speed Linear Servo Valves – LSVHG-04 (With Fail-Safe)
- Cetop 5 (NG10) Direct Type High Speed Linear Servo Valves – LSVG-03
- Cetop 5 (NG10) OBE Type Direct Operated Linear Servo Valves – LSVG-03-EH
- Cetop 3 (NG6) OBE Type Direct Operated Linear Servo Valves – LSVG-01-EH
- Pumps
- Pressure control
- Flow Control Valves
- Pressure Control Valves
- All Pressure Control Valves
- Brake Valves
- Direct Relief Valve
- Low Noise Solenoid Controlled Relief Valves
- Low Noise Pilot Operated Relief Valves
- Pilot Operated Relief Valves
- Pressure reducing and relieving valves
- Pressure reducing and check valves
- Pressure control valves
- Remote Control Relief Valves
- Solenoid Controlled Relief Valves – BSG
- Solenoid Controlled Relief Valves – BST
- Unloading relief valves
- Check valves
- Environmental
- Valves
- Hydraulic Systems
- Power pack
- About Us
- Contact
- Blog

7 Tips for Choosing a Plastic Blind Drain
Choosing a Plastic blind drain is not just a matter of picking a pipe and covering it with gravel. The right system must suit the soil, expected water flow, installation depth, and available outlet. A wet garden bed, a sloped driveway, and a retaining wall each create different drainage demands. Small details matter. A crushed section or poorly wrapped fabric can let fine soil enter the core and reduce its capacity over time.
This guide follows a practical reminder from fictional drainage consultant Alex Morgan: “Match the drain to the soil and water, not just the price.” The quotation is illustrative, not a sourced statement from a real industry expert. The seven tips will help compare core shape, compressive strength, filter fabric, flow capacity, connection fittings, installation needs, and supplier documentation. Look for clear product specifications, including test conditions, rather than relying on broad claims. Ask how the drain performs under the load and soil conditions at your site. Then check whether its dimensions and outlet arrangement fit the planned trench. A product can look sturdy in a catalog and still be wrong for a narrow, clay-heavy run. That is easy to overlook. Even experienced installers can miss a detail when specifications are vague, so verify them before purchase.
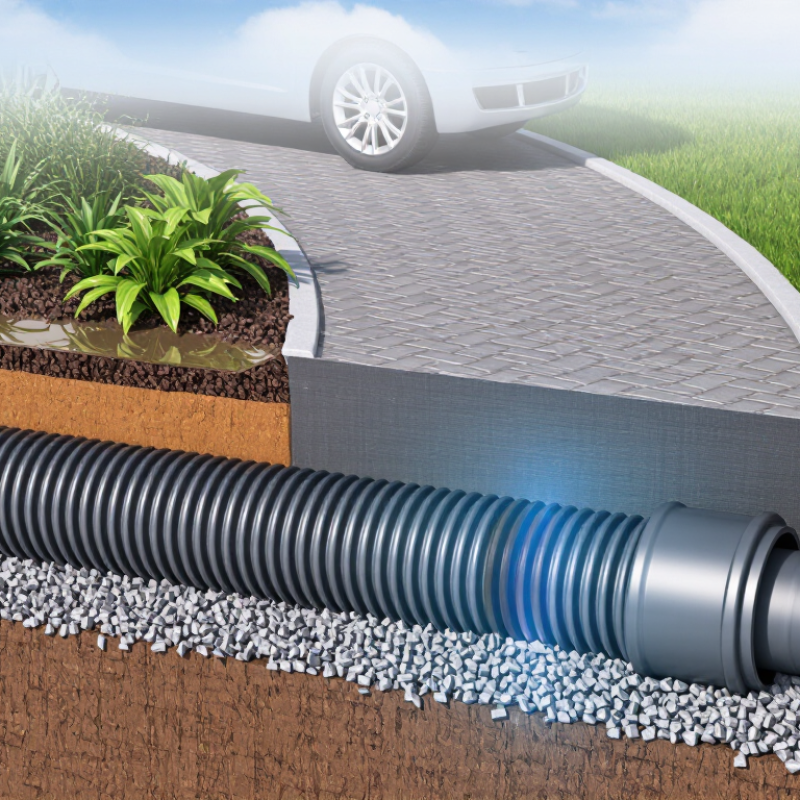
Table of Contents [Hide]
What a Plastic Blind Drain Is and How It Works
7 Tips for Choosing a Plastic Blind Drain
What a Plastic Blind Drain Is and How It Works
A plastic blind drain is a buried drainage path that collects and carries water out of soil. Unlike an open ditch, it stays below the surface. Many systems use a plastic drainage core wrapped in filter geotextile; some designs also include perforated pipe. Water seeps through the surrounding soil and fabric, enters the core, then moves toward an outlet. The exact construction varies, so “plastic blind drain” is not always used for one standard product. The Federal Highway Administration’s Geosynthetic Design and Construction Guidelines explains that geocomposite drainage capacity should be assessed under expected pressure and flow conditions. A catalogue flow rate alone may not reflect performance in compacted soil.
The volume can add up quickly. The U.S. Environmental Protection Agency estimates that one inch of rain on a 1,000-square-foot roof produces about 600 gallons of runoff. That is substantial. A drain near a foundation or retaining wall must therefore have a reliable outlet, not just a place for water to collect. Check the soil type, expected water load, installation depth, and filter compatibility before choosing a system. Fine silt can clog an unsuitable filter, while heavy soil loads can restrict flow through the core. A practical field check is to confirm that the outlet remains clear after backfilling. I would still verify the design against site conditions; a neat-looking drain can underperform when the discharge point is overlooked.