- Home
- A-Z Catalogue
- Products
- Valves
- Cetop
- Manual Directional Valves
- Proportional Valves
- Poppet Valves
- High-Speed Linear Servo Valves
- All High-Speed Linear Servo Valves
- Cetop 10 (NG32) Two Stage Type High Speed Linear Servo Valves – LSVHG-10
- Cetop 10 (NG32) Two Stage Type High Speed Linear Servo Valves – LSVHG-10 (With Fail-Safe)
- Cetop 8 (NG25) Two Stage Type High Speed Linear Servo Valves – LSVHG-06
- Cetop 8 (NG25) Two Stage Type High Speed Linear Servo Valves – LSVHG-06 (With Fail-Safe)
- Cetop 7 (NG16) Two Stage Type High Speed Linear Servo Valves – LSVHG-04
- Cetop 7 (NG16) Two Stage Type High Speed Linear Servo Valves – LSVHG-04 (With Fail-Safe)
- Cetop 5 (NG10) Direct Type High Speed Linear Servo Valves – LSVG-03
- Cetop 5 (NG10) OBE Type Direct Operated Linear Servo Valves – LSVG-03-EH
- Cetop 3 (NG6) OBE Type Direct Operated Linear Servo Valves – LSVG-01-EH
- Pumps
- Pressure control
- Flow Control Valves
- Pressure Control Valves
- All Pressure Control Valves
- Brake Valves
- Direct Relief Valve
- Low Noise Solenoid Controlled Relief Valves
- Low Noise Pilot Operated Relief Valves
- Pilot Operated Relief Valves
- Pressure reducing and relieving valves
- Pressure reducing and check valves
- Pressure control valves
- Remote Control Relief Valves
- Solenoid Controlled Relief Valves – BSG
- Solenoid Controlled Relief Valves – BST
- Unloading relief valves
- Check valves
- Environmental
- Valves
- Hydraulic Systems
- Power pack
- About Us
- Contact
- Blog

7 Oilless Reciprocating Compressor Buying Tips?
Choosing an Oilless Reciprocating Compressor is not simply a matter of comparing horsepower and purchase price. In real facilities, small specification errors can create heat, vibration, moisture problems, or unexpected maintenance costs. A compressor may look efficient on paper yet perform poorly in a dusty workshop or a demanding medical air system. That gap matters.
Seven practical buying tips can help you examine the equipment more carefully. Start with the required pressure, flow rate, duty cycle, and air quality standard. Then consider cylinder materials, cooling design, noise levels, motor efficiency, and service access. Do not ignore the installation environment. A compact unit beside a wall may become difficult to cool or repair. Ask the manufacturer for test data, expected component life, and clear warranty terms. Reliable suppliers should explain their assumptions, not hide behind impressive numbers.
Real experience also teaches an uncomfortable lesson. The cheapest compressor is rarely the cheapest system. A model with low energy consumption may still disappoint if replacement parts are unavailable locally. Likewise, an oil-free design does not mean maintenance-free operation. Filters, valves, seals, and intake components still require inspection. Some recommendations may need adjustment after measuring actual demand. That is normal. Careful buyers verify site conditions, compare total ownership costs, and leave reasonable capacity headroom. These habits support safer decisions and more dependable compressed-air performance.
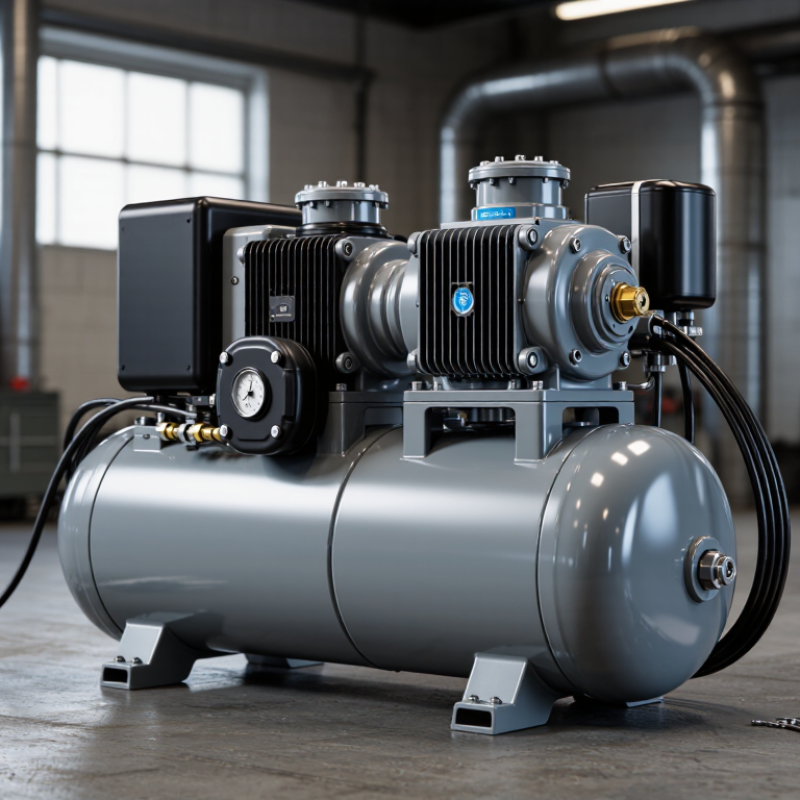
Table of Contents [Hide]
Define Your Air and Pressure Requirements
Before choosing an oilless reciprocating compressor, define the air tasks precisely. List every pneumatic tool, nozzle, actuator, or instrument you may run. Record each tool’s required flow in CFM or L/min and its working pressure in PSI or bar. Do not rely on horsepower alone.
Measure the peak demand, not just the average. A small brad nailer may use little air, while a spray gun can consume continuously. Add the flow rates of tools that might operate together, then allow roughly 20 percent capacity for leakage, pressure loss, and future needs. Check whether the stated airflow is free-air delivery or theoretical displacement. These figures are not interchangeable.
Pressure must match the application. A compressor rated above your target pressure may still fail if its delivered flow drops sharply at that pressure. For a workshop using an air blow gun at 90 PSI, inspect performance at 90 PSI, not only the maximum rating. Consider hose length, internal diameter, filters, and quick couplers, because each can reduce usable pressure. I once underestimated a long, narrow hose; the tool stalled despite an apparently adequate compressor. That mistake was avoidable. Confirm the duty cycle, receiver size, operating temperature, and recovery time as well. Oilless models can be convenient for clean air, but frequent high-demand use may expose their thermal limits. Define the real workload before comparing specifications.
7 Oilless Reciprocating Compressor Buying Tips? - Define Your Air and Pressure Requirements
| Buying Tip | Requirement to Define | Typical Planning Data | Why It Matters | Selection Check |
|---|---|---|---|---|
| 1. Define the Required Airflow | Determine the air demand of every connected tool or process. | Record demand in CFM or m³/min at the stated operating pressure. Add simultaneous demands and allow approximately 10–20% reserve for normal variation. | A compressor can reach the target pressure yet still perform poorly if its delivered airflow is too low. | Compare the application’s total demand with the compressor’s rated free air delivery, not only its displacement. |
| 2. Specify Working and Maximum Pressure | Identify the minimum pressure required at the point of use and the compressor’s maximum allowable pressure. | Many general pneumatic tools operate around 90–100 psi (6.2–6.9 bar), while specialized equipment may require a different pressure range. | Selecting excessive pressure can increase energy use, while insufficient pressure can reduce tool output. | Check pressure at the equipment inlet after accounting for pipe, hose, filter, and regulator pressure losses. |
| 3. Match the Duty Cycle | Estimate how long the compressor will run during each hour and whether demand is continuous or intermittent. | Light intermittent use may be below 25% run time; frequent workshop use can range from approximately 25–75%; continuous processes may require 75% or more. | A compressor designed for intermittent operation may overheat or wear prematurely when used continuously. | Verify the manufacturer’s rated duty cycle, thermal protection, cooling method, and permitted starts per hour. |
| 4. Select the Right Tank Capacity | Choose receiver volume according to demand fluctuations, start frequency, and available space. | A small receiver is suitable for short, intermittent demand; a larger receiver helps reduce rapid cycling and supports brief peak loads. The correct size depends on airflow, pressure band, and cycle time. | The tank stores compressed air and can stabilize pressure, but it cannot replace adequate compressor airflow for sustained demand. | Confirm receiver rating, safety relief protection, drain arrangement, corrosion protection, and local inspection requirements. |
| 5. Confirm Air Purity Requirements | Define whether the air contacts products, instruments, breathing systems, or sensitive equipment. | Oil-free compression reduces the risk of compressor-oil contamination, but moisture, particles, and vapors may still require filtration and drying. | “Oilless” does not automatically mean dry, sterile, or contaminant-free air. | Specify the required air-quality class, pressure dew point, filtration level, and any applicable industry or site standard. |
| 6. Check Installation Conditions | Review ambient temperature, altitude, ventilation, noise limits, floor loading, and available electrical service. | Performance can change with inlet temperature, elevation, restricted ventilation, and voltage variation. Indoor installations commonly require clean airflow and adequate clearance for cooling and maintenance. | Poor installation conditions can reduce output, increase temperature, and shorten component life. | Confirm motor voltage and phase, sound level, ventilation requirements, condensate handling, and recommended service clearances. |
| 7. Compare Total Cost of Ownership | Evaluate purchase price together with energy, maintenance, replacement parts, downtime, and expected service life. | Compare delivered airflow per unit of electrical input, maintenance intervals, consumable requirements, warranty terms, and the cost of dryers, filters, receivers, and installation. | The lowest initial price may not provide the lowest operating cost or the best reliability. | Request performance data at the actual operating pressure and calculate annual energy cost using local electricity rates and expected operating hours. |
Note: Planning ranges are general guidance. Final compressor sizing should be verified against the application’s measured airflow, pressure, duty cycle, environmental conditions, and applicable safety requirements.